How to Build a Fire in a Fire Pit
If you don’t live in a culture that builds them all the time, it’s not easy to build an outdoor fire, especially when other people are watching, and especially when those people are cold. That’s a lot of pressure!
I believe anyone can learn this skill, though, and there’s nothing like the satisfaction of warming your whole community around a nice, big fire.
You have to learn to work with pressure, because creating pressure in the right places is key to starting a fire outside, where the air is always moving and will blow your fire right out if it’s not channeled properly. What you need is enough kindling to light, fuel to burn, and protected space to build, and then it’s a matter of applying pressure in the right places.
Here are my recommendations for how to get a fire going in a fire pit to keep your people cozy in the cold.
1. Make a Microcosm


The first step in building a big outdoor fire is building a small outdoor fire.
This requires setting up a framework of fuel — specifically kindling, small sticks or bunches of easily flammable material — and then lighting a quick-burning fire inside of it. I recommend arranging the kindling in a sturdy little pyramid, which as you will see is also the arrangement I will recommend for the main logs to be assembled around it.
I use untreated pine stick fire starters, which can be bought in enormous bushels that can last you multiple years, and enough for a few fires can be easily packed with you wherever you’re going. Failing that, you’ll need to gather sticks or strip bark. You can use dry leaves or paper to pack the core with stuff to light.
You will also need a match. Maybe several. I pride myself on starting fires with just one, though.
2. Light the Pyre


Light the end of another stick of kindling, get it going, and then place it inside of the kindling pyramid. This initial ignition demonstrates all the principles required in starting a fire. The structure shelters the flame, allowing it to grow, and the rising heat climbs up the vertical structure, so the whole thing catches. A pyramid-shaped fire is a funnel, drawing air in from the bottom, heating it up, and blasting it out the top.
That’s why you use a little one to light a big one.
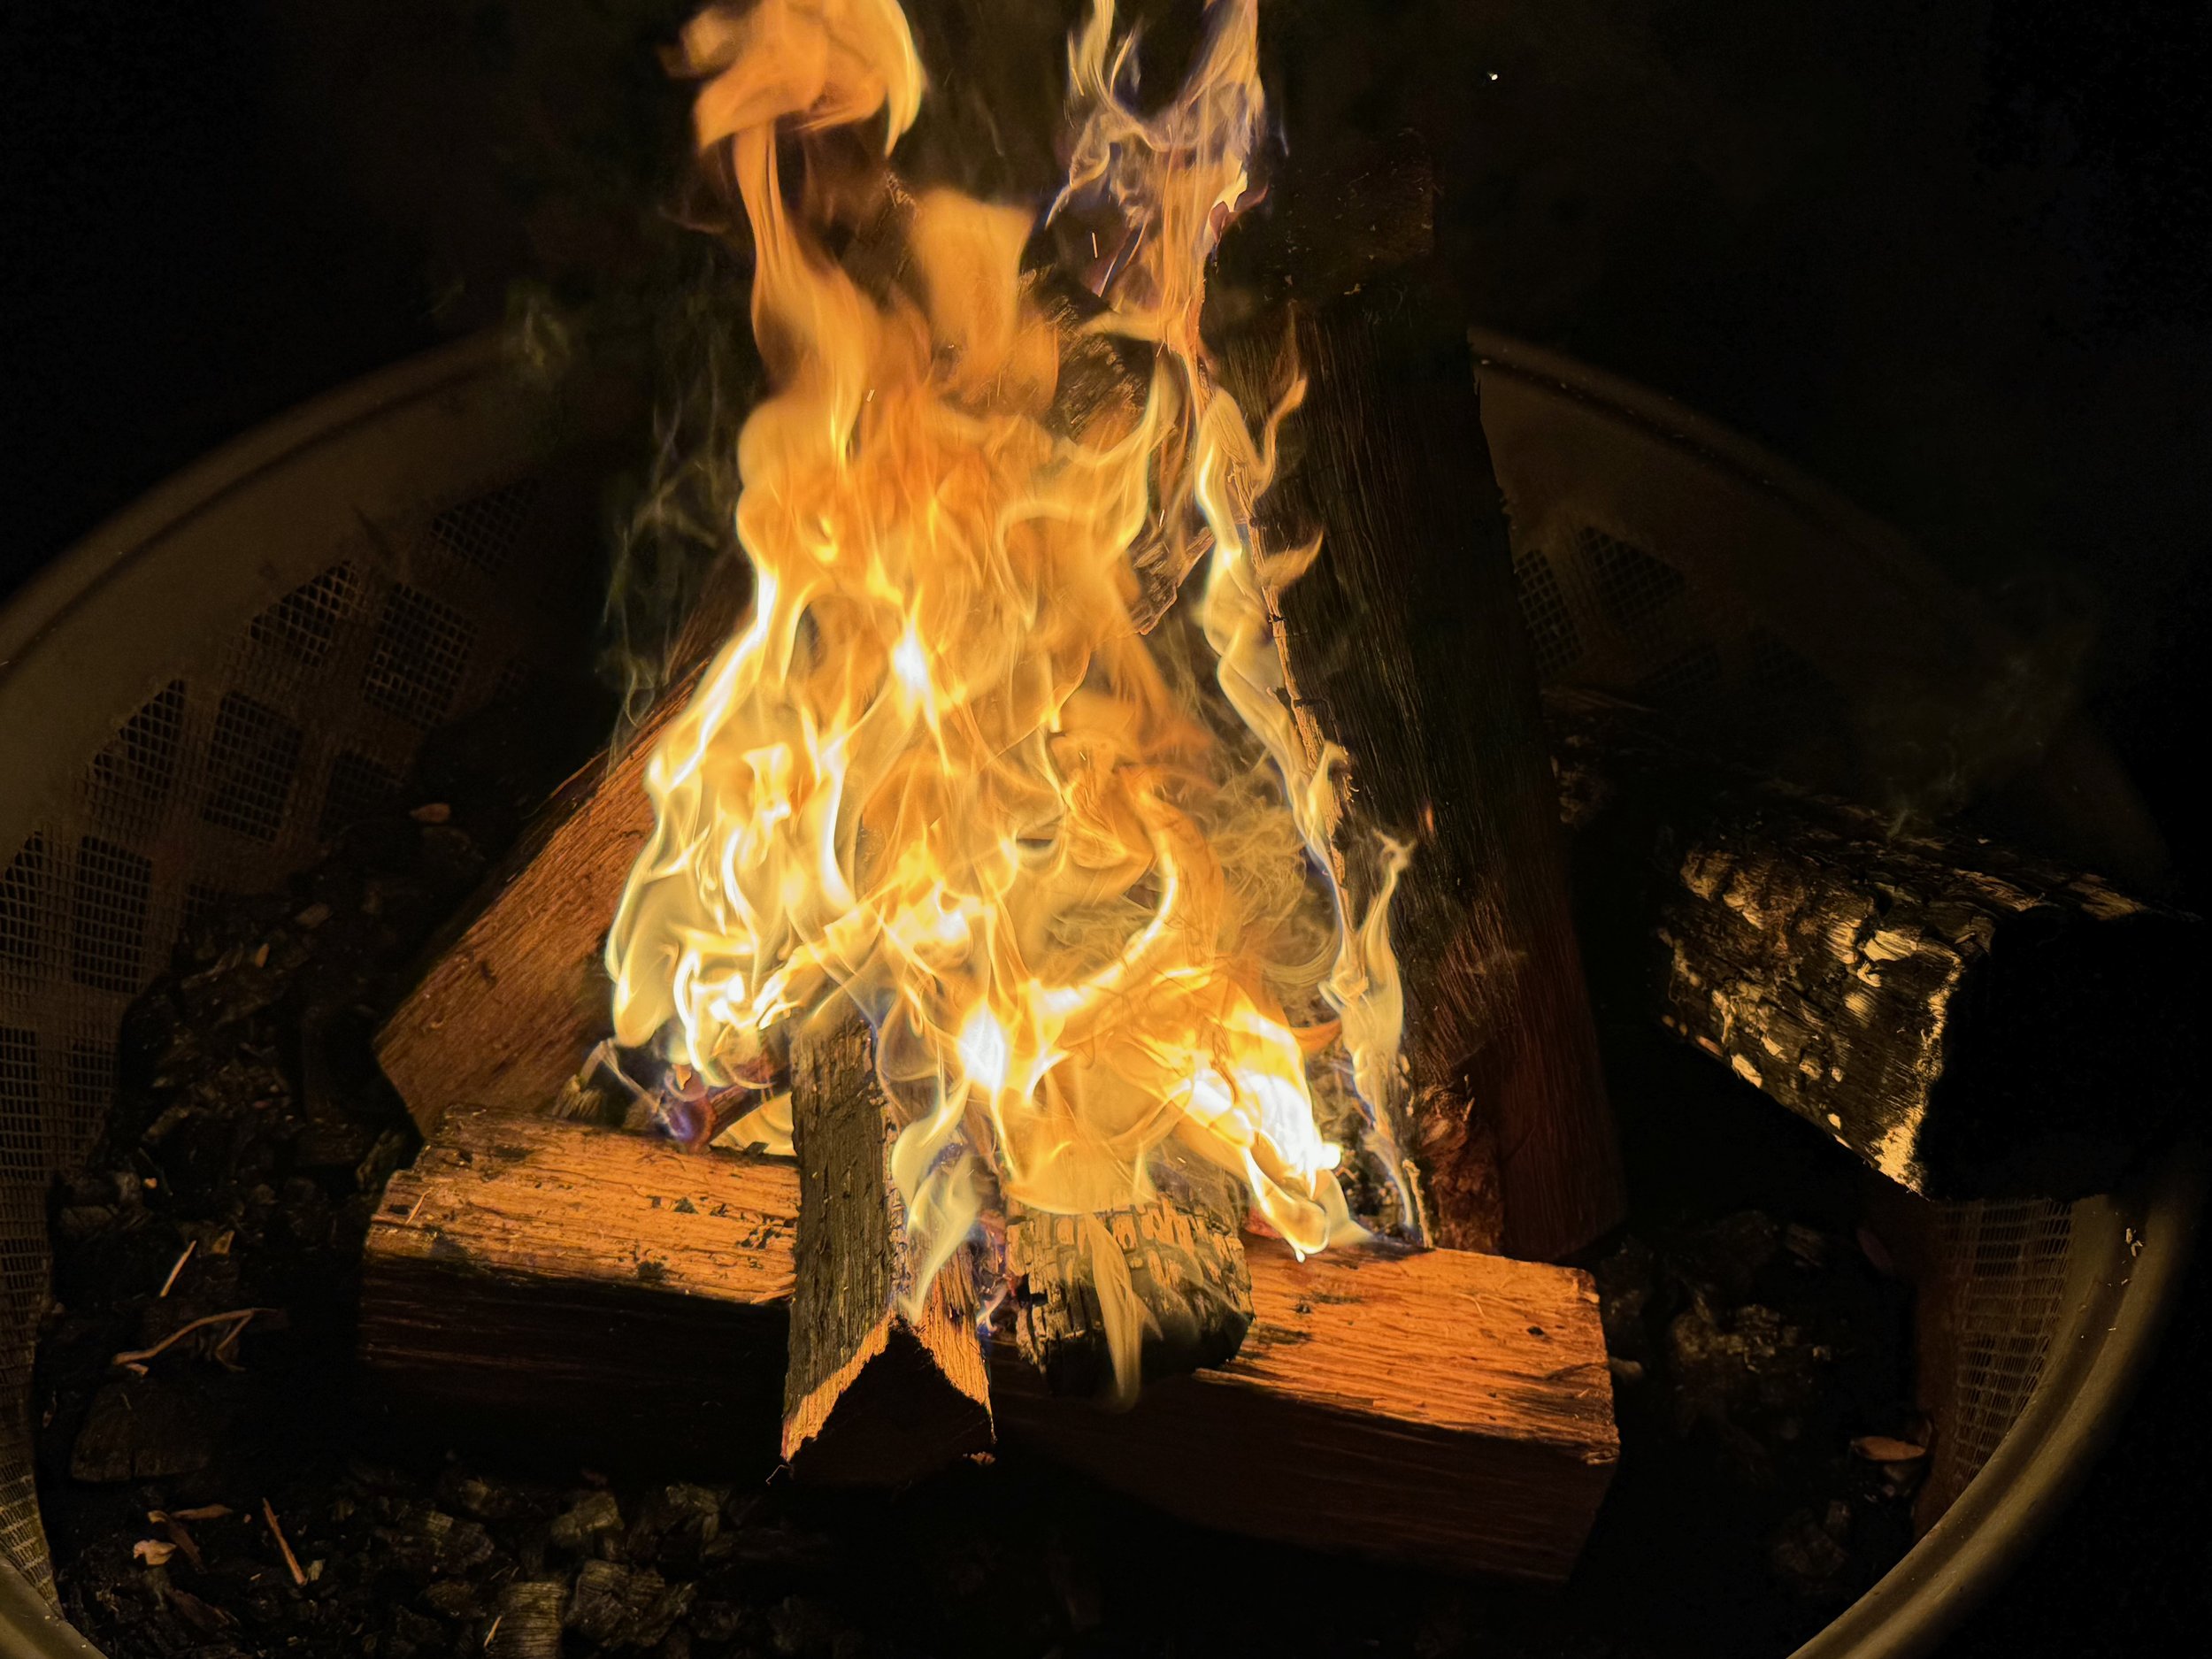
3. Construct the Pyramid


As soon as you get the micro-pyramid started, stand up a bunch of logs in a macro-pyramid around it. Actually lean them against each other at the top and use it to keep the structure standing. Make it as tall and closed in as you can without it falling over.
Again, you’re serving two purposes here. You’re building a wall around the little fire to keep it from going out, and you’re channeling the heat upwards. Your goal is to light the ends of all of these logs at the same time.
4. Feed the Inside


The beginning of the macro-pyramid phase will be pretty spectacular, but don’t get comfortable. Before long, your micro-pyramid is going to be consumed, and then you’ll be in a situation where the top of the macro-pyramid is on fire, but the fire inside it is going out. Don’t let that happen. It’s not too late to throw more kindling in there if it does, but you don’t actually need to if you’re watching carefully.
This is why you used so many logs for the macro-pyramid at first. Take one of them down and lay it flat along an outside edge of the pyramid, then take a couple more down and lay their non-burning ends across it, with their burning ends down in the center of the pyramid. Lay them pretty close together, so they’re keeping each other on fire, with heat rushing up through the gap between them and igniting both sides.
What you’ve done here is used the kindling to light these logs as mega-matches. The kindling couldn’t burn long enough to light the rest of the logs completely, but these burning logs will. The principles of the pyramid still apply, but now you’re implementing them with full-on logs.
5. Turn on the Power Plant


Eating up those first two logs is the key to converting the pyramid into a sustainable outdoor fire. As they burn up, use a tool to break them down into big, red-hot coals in the center of the pyramid. These will radiate heat out in all directions more than flames shooting straight up, and this is key to getting the rest of the standing logs all the way involved.
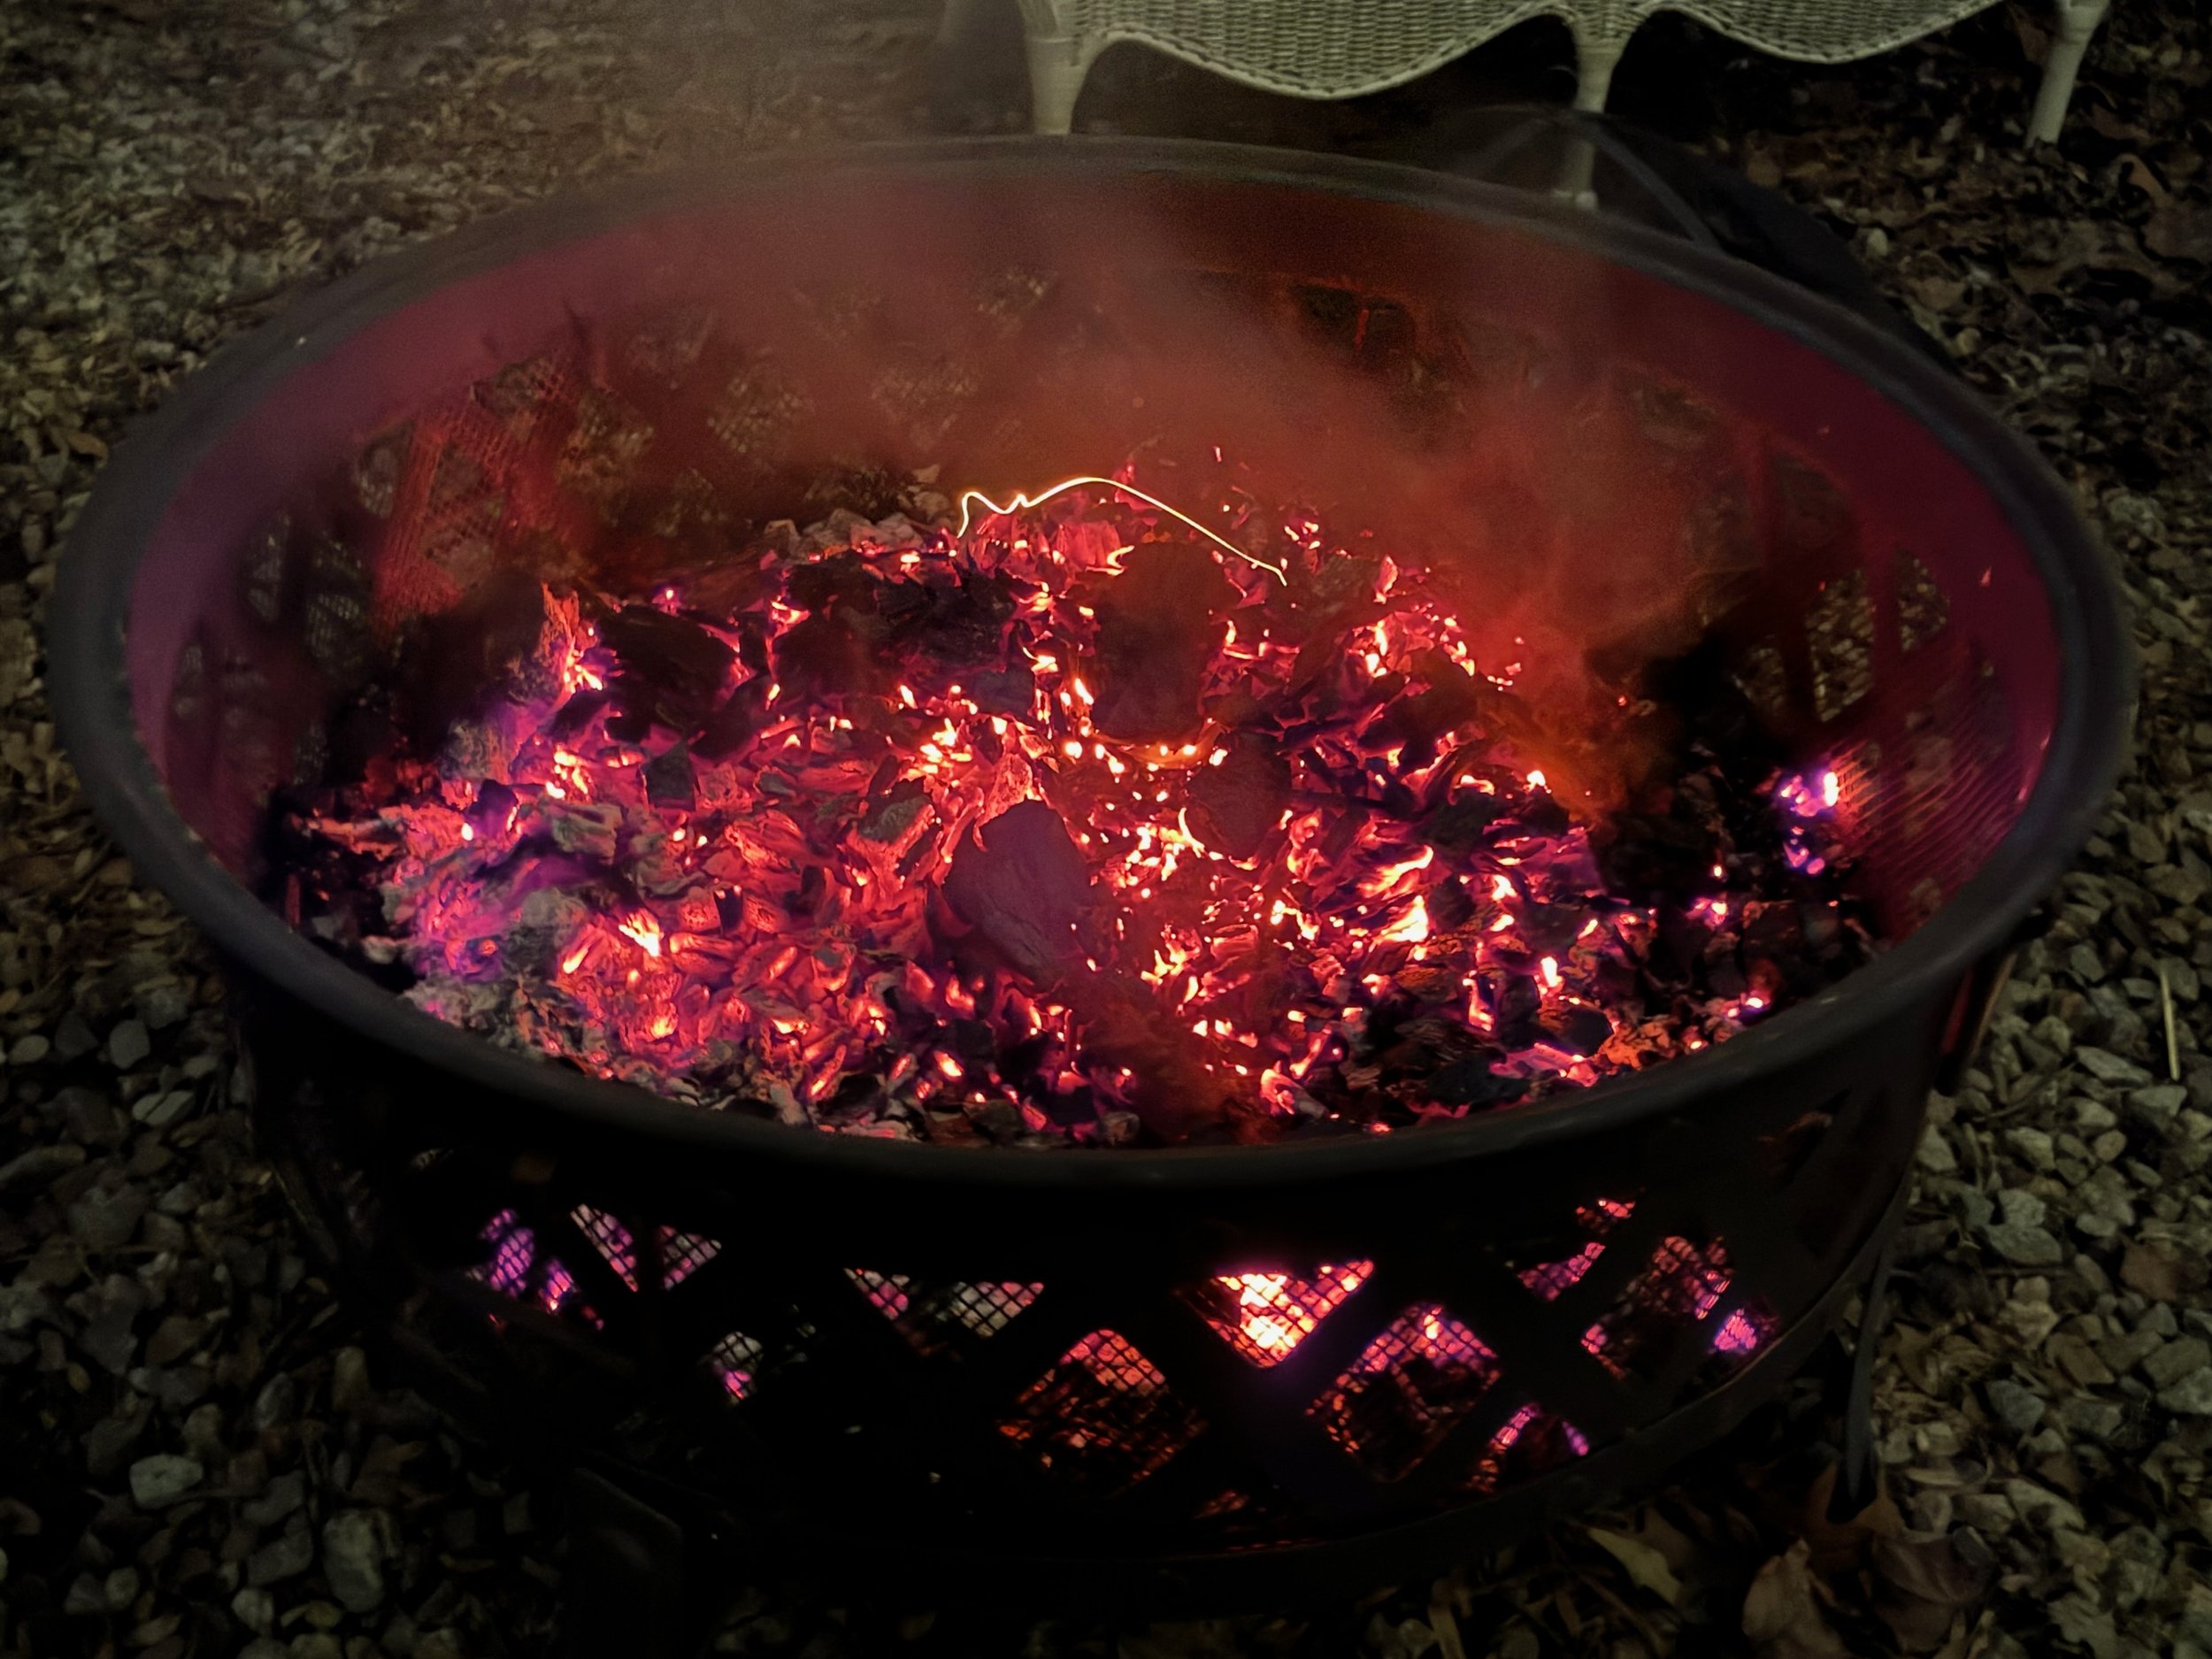
6. Break It Down
Your final destination is a smaller, less hungry fire made of logs stacked horizontally on top of a nice bed of coals. You can just keep layering logs on top of this as the bottom ones crumble. You don’t need or want the big flames from before, as those will eat up your fuel faster, and the coals will radiate enough to warm the periphery. You can also build back up from this stage if you need to.
If you’re working efficiently, this fire should be able to burn itself all the way out when you’re done, leaving you a nice bed of coals at the end of the night. But never leave a hot fire unattended, even in the coal state. If you’re the last one up, dump water on this pit and cover it before you go to bed.
See Also:

How to Build a Fire in a Fireplace
Breathe easily, eat well, be warm.
